설치하는 법 : https://flutter.dev/docs/get-started/install
따라하는 글 : https://flutter.dev/docs/get-started/codelab#step-1-create-the-starter-flutter-app
https://flutter.dev/docs/get-started/test-drive#create-app 을 따라 앱을 그냥 만들고 커밋 (https://github.com/bunhere/study/commit/2881e3a5e538a162f41e032a77db23cb64fab019)

lib/main.dar가 존재
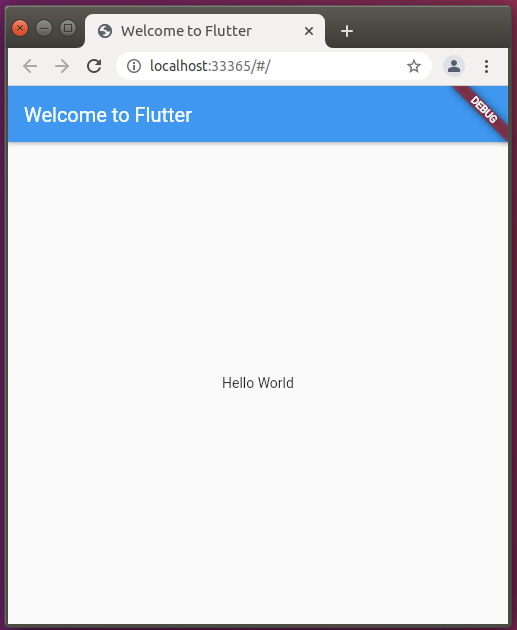
아래 코드로 변경하고 웹으로 실행
// Copyright 2018 The Flutter team. All rights reserved.
// Use of this source code is governed by a BSD-style license that can be
// found in the LICENSE file.

import 'package:flutter/material.dart';

void main() => runApp(MyApp());

class MyApp extends StatelessWidget {
  @override
  Widget build(BuildContext context) {
    return MaterialApp(
      title: 'Welcome to Flutter',
      home: Scaffold(
        appBar: AppBar(
          title: Text('Welcome to Flutter'),
        ),
        body: Center(
          child: Text('Hello World'),
        ),
      ),
    );
  }
}

정리(Observations)
* Material 앱이란다. 플러터는 메테리얼위젯을 제공한다. 어쩌구. uses-material-design: true in flutter section of pubspec.yaml (false로 바꿔봤는데 딱히 아직 차이를 모르겠다.)

* main() 은 화살표(=>) 노테이션을 쓴다.
* 앱은 StatelessWidget을 extends한다. 앱 자체를 위젯으로 만든다. 플러터에서 거의 모든것이 widget이다.
* Scaffold 위젯은 appBar와 body를 갖고 있다.
* 위젯의 중요한것은 build()를 제공하는 것이다.
* body는 Text 위젯을 갖는 Center 위젯으로 이뤄져있다.
여기까지 하고 실행하면 아래와 같다.
https://github.com/bunhere/study/commit/8a1fae4ccf055fdf2b8562973bffb00714f5f373
Step 2 부분
pubspec.yaml 은 dependency등을 관리하는 파일인가보다.
  # The following adds the Cupertino Icons font to your application.
  # Use with the CupertinoIcons class for iOS style icons.
  cupertino_icons: ^1.0.2
  english_words: ^4.0.0-0
english_words 를 추가하고 나면 상단에 이런 게 생긴다.

pub get을 클릭
제대로 가져왔으면 pubspec.lock파일에 english_words가 아래처럼 자동 생성되어 있다.

아래처럼 코딩한다.
diff --git a/project/flutter/hello/lib/main.dart b/project/flutter/hello/lib/main.dart
index 349bf01..0eafe0a 100644
--- a/project/flutter/hello/lib/main.dart
+++ b/project/flutter/hello/lib/main.dart
@@ -4,12 +4,14 @@
// found in the LICENSE file.
import 'package:flutter/material.dart';
+import 'package:english_words/english_words.dart';
void main() => runApp(MyApp());
class MyApp extends StatelessWidget {
@override
Widget build(BuildContext context) {
+ final wordPair = WordPair.random();
return MaterialApp(
title: 'Welcome to Flutter',
home: Scaffold(
@@ -17,7 +19,7 @@ class MyApp extends StatelessWidget {
title: Text('Welcome to Flutter'),
),
body: Center(
- child: Text('Hello World'),
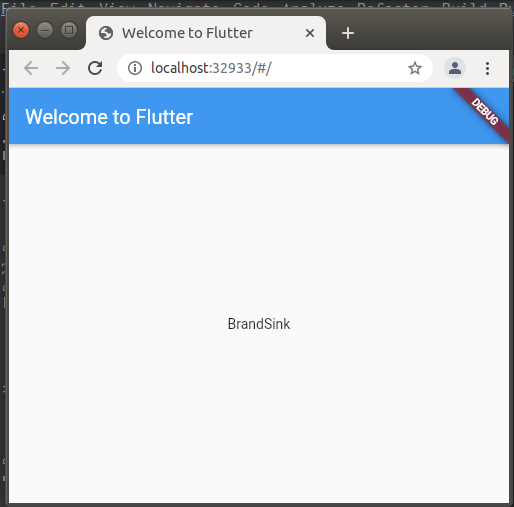
+ child: Text(wordPair.asPascalCase),
),
),
);아래처럼 나온다.
Step 3 Stateful widget 추가하기
Stateful widget과 Stateless widget으로 개념을 나눠둔거 정말 좋은 생각인것 같다.
Stateful widget 은 lifetime동안 바뀔 수 있는 상태를 관리한다고 한다.
그런데 Stateful widget은 State를 갖고 있다. Stateful widget 자체는 Stateless widget처럼 immutable 하고 버려지고 다시 만들어진다고 한다.
반면, State는 Widget의 수명에 걸쳐 유지된다고 하는데, 이 위젯이 자신을 가진 Stateful widget을 말하는건가? Stateful widget은 버려질 수 있다고 했는데 흠.. 아직 잘 모르겠다.
예제대로 RandowWords 라는 Stateful widget, _RandomWordsState라는 State를 만들자.
신기한게 제일 밑에다가 stful 입력하고 엔터치면 보일러플레이트 코드를 자동으로 완성해준다.
원글에는 따로 언급이 없는데 아래같은 코드가 생성되는데 그 중에 key 를 인자로 하는 생성자가 있다.
@@ -19,9 +18,24 @@ class MyApp extends StatelessWidget {
           title: Text('Welcome to Flutter'),
         ),
         body: Center(
-          child: Text(wordPair.asPascalCase),
+          child: RandomWords(),
         ),
       ),
     );
   }
 }
class RandomWords extends StatefulWidget {
  const RandomWords({Key key}) : super(key: key);

  @override
  _RandomWordsState createState() => _RandomWordsState();
}

class _RandomWordsState extends State<RandomWords> {
  @override
  Widget build(BuildContext context) {
    final wordPair = WordPair.random();
    return Text(wordPair.asPascalCase);
  }
}
MyApp의 Scaffold에 RandomWords로 했으니 이 생성자의 key는 에러가 난다. 어떻게 고칠지 아직 모르니 그냥 삭제했다.
아직은 State가 뭘하는 것인지 모르겠다.
'개발' 카테고리의 다른 글
| ninja 빌드시 반복적으로 gn이 호출됨 (0) | 2022.11.08 |
|---|---|
| [Crawling] BeautifulSoup 예제 (0) | 2022.08.11 |
| [GIT] windows에서 invalid username (wincred) (0) | 2016.10.18 |
| [EFL] EWebKit Extension (0) | 2014.09.23 |
| transparent ewebkit (0) | 2014.07.30 |